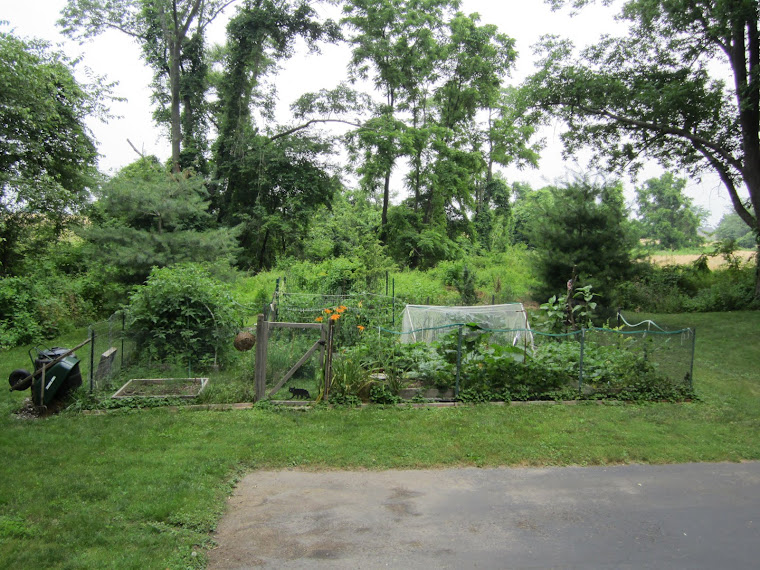
MID-JUNE GARDEN

MID-JUNE GARDEN

Thursday, January 27, 2011

ANOTHER 18" OF SNOW!!

We are buried under another 18" of snow and so is my hoophouse.  I went out there the other day and found that the plastic is very brittle and cracks if I handle it too much in the cold.  The forecast calls for a few more inches of snow and then it is going to get very cold, so that I think that this snow is going to be around for a while.  That's OK by me, but I have to reconcile myself to the fact that I won't be getting into the hoophouse some time.  I plan to start a few tomato plants next week.  Last year, I started all of my tomatoes February 1 and thought that I made a huge mistake because they became too big to keep in the house, and they were almost too big to plant in the hoophouse too.  But I squeezed them in, kept them warm, ventilated and by the time the normal planting season came along, they had a great root system and were already producing fruit!  Plus, we had a very, very hot July, but my garden was well established and I think that the big tomato plants actually provided some shade to themselves and other plants in the garden.  In the end, I had a early, great harvest and so will stagger my starts to cover all the bases.  This year seems to be very much like last year, so I'll just follow last year's schedule.

Sunday, January 23, 2011

JANUARY GARDENING

Gardeners generally hibernate in the cold months of the year, sharpening tools and paging through seed catalogues.  Not me!  My growing season starts in January, in the hoophouse and on my windowsill.  In 2009, I sewed  a hoophouse as an experiment in an effort to extend my growing season.  There is lots of information out there about constructing a hoophouse, but I haven't heard of anyone using a home sewing machine to make one!  My hoophouse is constructed over a 4' x 8' raised bed, using PVC pipe on 3' rebar for support.  I purchased 12 yards of 12 ml plastic and (6) 48" sports zippers from a fabric store.  First, I sewed 2 11' lengths of plastic together.  Two zippers were sewn 1' from each end.  And 2 other zippers were sewn across the top.   I used separating zippers so that it could be unzipped from the top for ventilation or from the bottom to access to the bed.  Each 'door panel' could be removed using the zippers.  I then cut 2 end panels to fit, using a bent PVC pipe as a pattern.   I also attached a pocket to the middle of each of these.  These pockets hold 5' rebar rods, which when pounded into the earth, keep your hoophouse from blowing away!  I also put grommets around the edges of the entire hoophouse which were secured into the wooden raised bed frame with screws.  I also constructed a flat-topped version of this, but think that the round-top hoophouse works best.  Both structures are in their third winter and except for some minor repairs, still serviceable.  Not bad considering that on March 13, 2010, a Nor'easter blew in with 50 mph winds!  I know of other people who drape plastic over the PVC and weigh down the edges with bricks or wood.  One year I successfully used up-side-down clear storage boxes to winter over my spinach, which, in fact, led me to using a hoophouse.  The successes of that first experiment encouraged me to continue my undercover gardening and create this blog. In January, if I've planned well and am lucky, I harvest any wintered-over crops, usually greens such as mesclun.  The flavorful lettuces and various greens are worth digging a path through the snow and braving the cold Pennsylvania temperatures.    This year, on January 5, I harvested fresh winter salad and served it with cold storage butternut squash soup.  It was awesome and set me to dreaming about my next garden.  Lately though, it's been very cold and the garden is at a standstill, waiting for the sun to warm. January for me is usually spent gathering seed packets at Agway, rather than ordering from the catalogues.   I don't want to have to wait even one day to smell those seeds and  I love holding those colorful packets in my hands when January is throwing her worst weather at us.  My first purchase is always 'mesclun' as it does well in a cold hoophouse.  That being said, I plan to plant mesclun in the hoophouse as soon as I can open the garden gate, which right now, is totally blocked by snow.  My flat-topped hoophouse is outside the gate and may be my only option.  I will put my thermometer in there and chart the soil temperature for a few days.  It's so hard not to jump the gun and plant too early, although mesclun usually bides it's time in the cold soil until the temperatures warm a bit for germination.  A soil thermometer presents me with the cold hard facts of January and I rely on mine for guidance.  Tonight, air temps are in the low 20s, and although the soil in the hoophouse is not frozen, the surviving greens are wilted.   I find that there is generally a 15 degree difference, and 35 degrees is a little too cold even for germinating mesclun.  I guess for now, my only option is to be patient and strap on those cross-country skis!